
 How to do it: create a new document
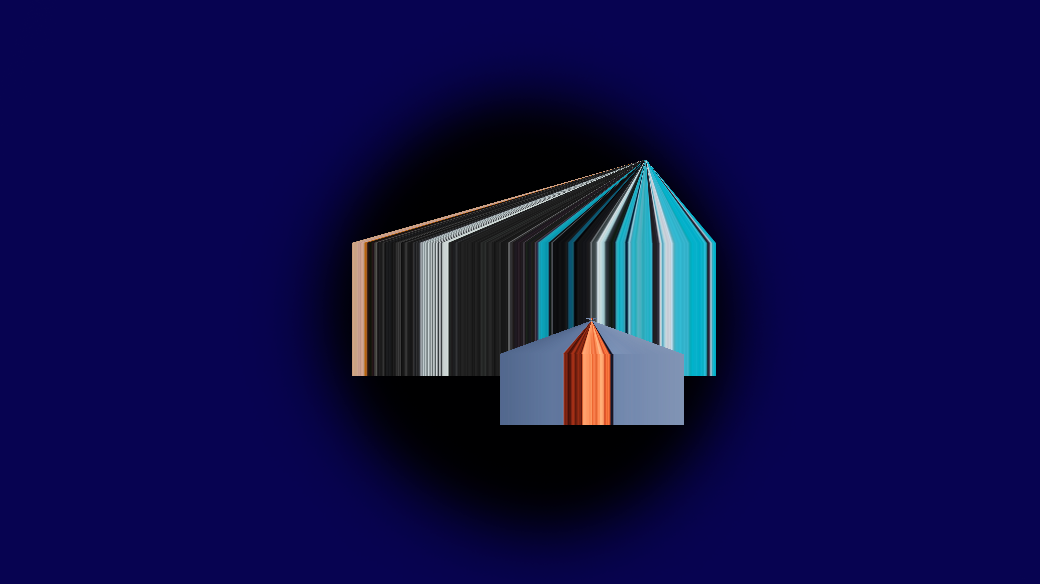
1 Go grab 2 photos that are filled with vibrant colors. 2 Using a large (500px), soft (0%), black brush with the Brush Tool, create a large black circle towards the center of your canvas. This will be used to help add depth to our design later on. 3 We need to copy a single row of pixels from one of our images. To do this, we’ll use the Single Row Marquee Tool 4 Paste the copied row into your design in a new layer. 5 Using Transform, vertically stretch this row of pixels into a rectangle that is a bit more manageable in the canvas area. 6 You should also horizontally shrink your pixels so that you have a rectangle of stretched pixels. 7 Duplicate this layer of stretched pixels. and then transform your new layer so that it’s quite longer than the original. It should remain the same width. 8 First, align the bottom pixels of your new layer with the top pixels of your first pixel stretch layer. 9 Go into Free Transform Mode (Ctrl + T). 10 Grab the top middle handle, and drag it downwards to shrink the layer vertically. The two layers should still meet one another. 11 Hold Ctrl and click and drag the top middle handle again so that the top of the layer being transformed is offset from the bottom of said layer. The bottom of the layer should still touch the top of the first pixel stretch layer. 12 Finally, Hold CTRL + Alt + Shift and click and drag one of the top outer handles inwards so they meet in the center. This will give the illusion of a 3D box moving back into space.
 Photo by Fredrik Tegner
The "Blue Hour" is the short time right before the sunset (and after the "Golden Hour") where the sky turns blue and the sun just barely lights up in a bright orange. 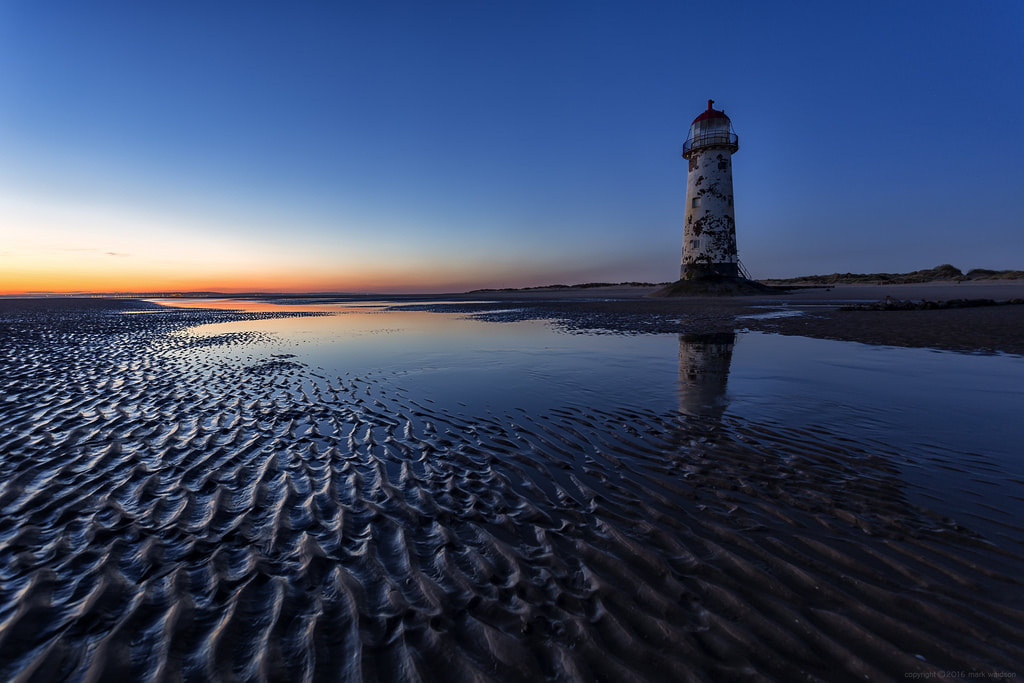 Photo by Mark Waidson.
The "Golden Hour" is the time shortly before the sunset when the sky turns to a bright orange/gold color 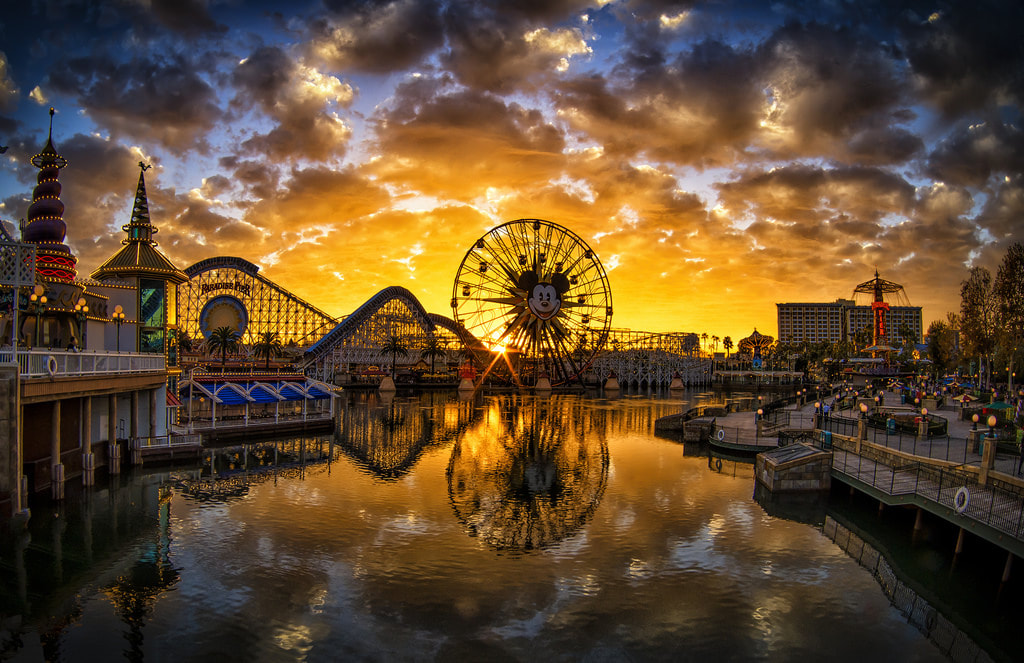 Photo by WJMcIntosh
|
AutorMaximilian Archiv
Januar 2018
Kategorien |
 RSS-Feed
